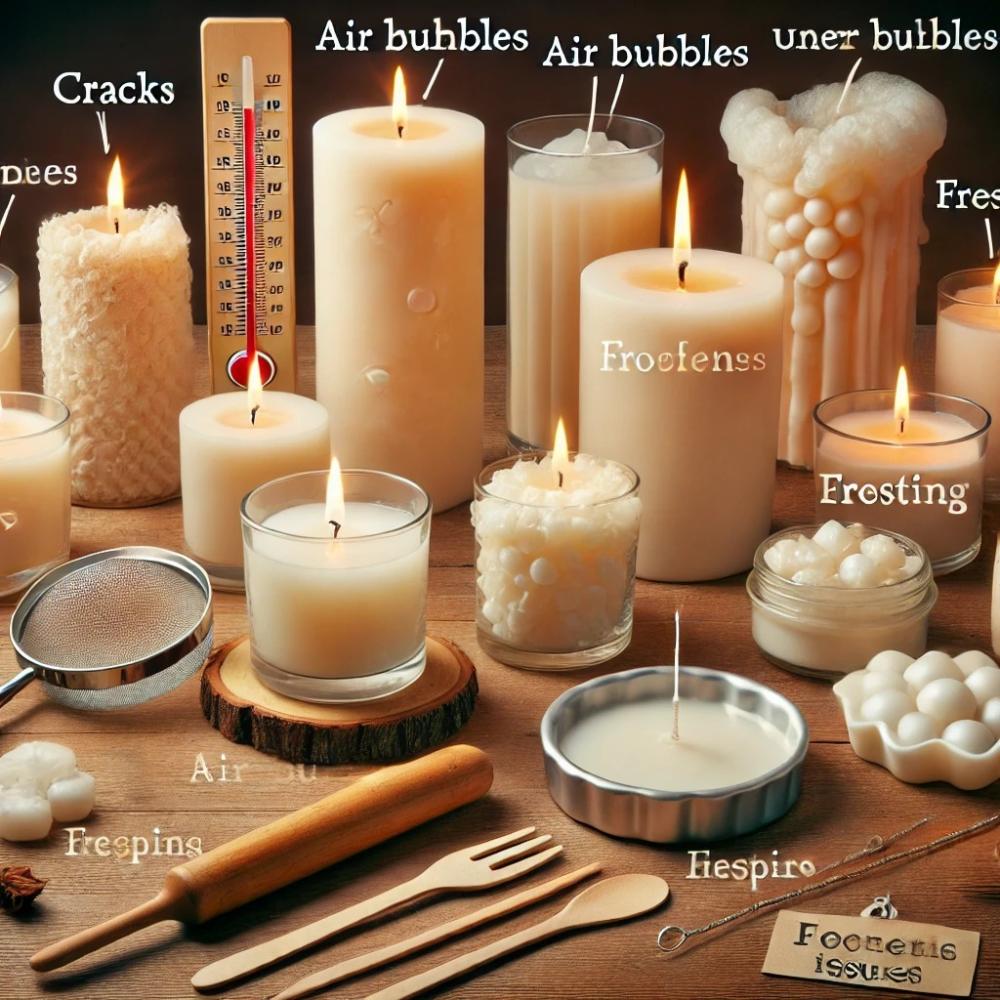
When making candles, you might encounter some problems that affect the candle's appearance and burn quality. From bubbles that spoil the surface of the candle to cracks that affect its overall shape, these problems are very common, especially for beginners. But don't worry! In this lesson, we'll review the most common problems you might face while making candles and provide simple solutions to avoid them and achieve perfect results.
1. The problem of cracks on the candle surface
A. Common causes
Cracks typically appear when wax cools too quickly or is poured at an unsuitable temperature. They can also result from unstable wax within the mold or the use of too much fragrance.
B. Solutions
- Temperature control : Pour the wax at the appropriate temperature for the type of wax used. For example:
- Paraffin wax: 70-75 degrees Celsius.
- Soy wax: 60-70 degrees Celsius.
- Gel wax: 85-90 degrees Celsius.
- Gradual cooling : Leave the candle to cool at room temperature without exposing it to cold drafts or placing it in the refrigerator.
- Repairing cracks : If cracks appear after the candle has cooled, heat a small amount of wax and pour it over the surface of the candle to fill the cracks and smooth the surface.
2. The problem of bubbles inside the candle
A. Common causes
Bubbles usually appear when air is introduced into the wax during stirring or when the wax is poured into the mold too quickly. They can also be caused by moisture inside the mold or on the surface of the candle.
B. Solutions
- Stir gently : Gently stir the wax while adding fragrance or color to prevent air from entering. Avoid vigorous stirring, which can cause bubbles to form.
- Pour slowly : When pouring wax into the mold, pour slowly and steadily from a low height to avoid air entering.
- Shake the mold gently : After pouring the wax into the mold, shake it gently to get rid of any trapped air bubbles.
- Warming the mold : If bubbles appear on the surface of the candle, try warming the mold slightly before pouring to avoid bubbles and make it easier for air to escape.
3. The "tunnel" problem (a hole in the middle of the candle)
A. Common causes
This problem usually occurs when the wick is too small or when the candle is lit for only a short time at a time, causing the wax to melt only in the middle and leave the sides.
B. Solutions
- Choosing the right wick : Make sure you choose a wick the right size for the candle's diameter. A larger wick helps melt the wax evenly, right down to the edges.
- Initial burning : When lighting the candle for the first time, let it burn until all the wax has melted on the surface. This helps create a "wax pool" that prevents tunneling.
- Repairing the tunnel : If the tunnel has already formed, use a hairdryer to heat the surface of the candle and melt the wax around the edges. You can also re-poured the melted wax into the sunken area to level it out.
4. The problem of soot formation (black smoke)
A. Common causes
Soot occurs when the wick is too long or when the wax has a high fragrance content. This results in uneven burning of the candle and the production of black smoke.
B. Solutions
- Trim the wick : Make sure to trim the wick to 0.5 cm before each lighting. This helps reduce smoke and ensures an even flame.
- Avoid excessive ingredients : Do not add too much perfume or color, as this can lead to an unclean burn.
- Choosing the right wick : Use a chemically untreated wick to ensure a clean, smoke-free burn.
5. The problem of candle shrinkage (wax shrinkage)
A. Common causes
Shrinkage often occurs due to rapidly cooling the wax or pouring it at a low temperature. It can also happen when using a type of wax that is more prone to shrinkage, such as paraffin wax.
B. Solutions
- Pour the wax at the right temperature : Allow the wax to cool to the appropriate temperature before pouring it into the mold. The ideal temperature helps prevent shrinkage.
- Gradual cooling : Avoid exposing the candle to cold drafts or placing it in the refrigerator. Allow it to cool naturally at room temperature.
- Repairing Shrinks : If shrinkage occurs, heat a small amount of wax and pour it into the shrinking part to fill it and smooth the surface.
Conclusion
When you encounter common candle-making problems, don't get discouraged. Many of these issues can be avoided by controlling the temperature, choosing the right wick, and stirring and pouring the wax correctly. With time and practice, you'll learn to recognize problems early and fix them easily. Remember, every experience adds to your skills and makes your candles even better in the future!


