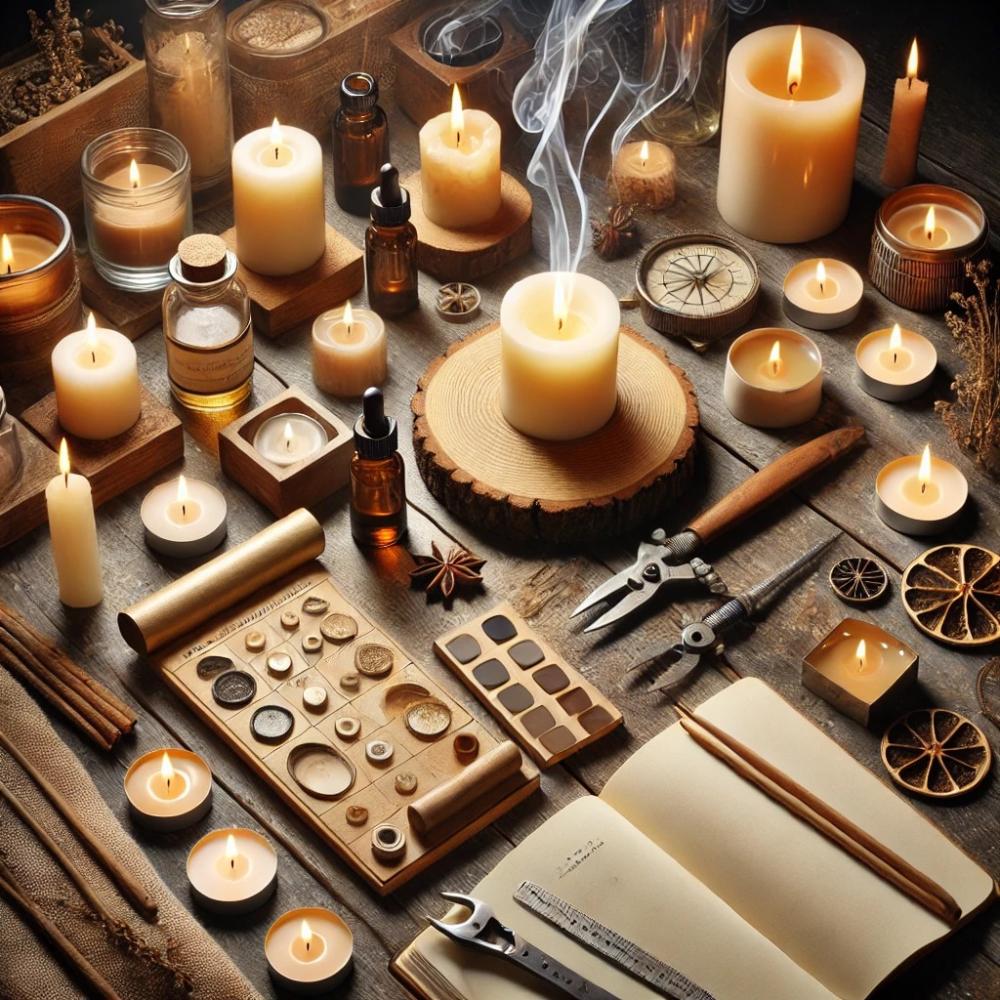
After making and decorating your candles, the final and most important step is testing and burning them. Testing candles ensures they burn evenly and retain the fragrance you added. This step isn't just about aesthetics; it's also about safety, as uneven burning can lead to problems like soot or even wax spillage. In this lesson, we'll learn how to properly test candles to guarantee perfect results.
1. Why should candles be tested?
Candle testing is important for several reasons:
- Ensuring even burning : Avoid the formation of a "tunnel" in the center of the candle and leaving the wax on the sides unburned.
- Burning time measurement : Knowing how long a candle can burn continuously.
- Evaluating fragrance diffusion : Ensure that the candle diffuses the fragrance evenly and strongly during the burning period.
2. How to test candles
A. Test preparation
- Choose a suitable location : Make sure to conduct the test in a well-ventilated area and on a level surface away from flammable materials.
- Trim the wick : Trim the wick to about 0.5 cm before lighting the candle. A wick that is too long can cause an unsafe, large flame, while a wick that is too short may affect the quality of the burn.
b. Lighting the candle for the first time
- Initial burn time : Ensure the candle burns long enough for all the wax to melt completely on its surface. This helps create an extended "wax pool" that prevents tunneling during continuous burning. Melting time depends on the size of the candle, but ideally, it should burn for 1-2 hours.
- Flame observation : When lighting the candle, observe the shape of the flame. The candle flame should be steady and not flickering. If the flame is too large or producing too much smoke, you may need to shorten the wick.
c. Testing the candle to ensure it burns completely
After lighting the candle for the first time, let it cool completely, then relight it. Repeat this process several times to assess the quality of the burn and how long the fragrance lasts.
- Tip : It is preferable to test several candles of the same size and recipe to ensure consistency of results.
3. How to achieve even combustion
a. Trim the wick regularly
Trimming the wick before each lighting is key to ensuring even burning. When the wick is too long, it causes a large flame, resulting in uneven burning and soot buildup on the candle's surface.
- Tip : Use wick scissors to cut it to a length of about 0.5 cm before each time you light the candle.
b. Maintaining the wax pool
To ensure even burning and prevent tunneling in the middle of the candle, let the candle burn long enough for a pool of melted wax to form around the edges. This process helps the wax melt evenly each time.
- The rule of three : The candle must burn for between one and three hours, depending on its size, each time.
4. How to retain the aroma while burning
a. Adding fragrance at the appropriate time during manufacturing
To ensure the fragrance remains in the candle after it is lit, make sure to add the essential oil at the appropriate temperature while making the candle (usually between 65-70 degrees Celsius).
b. Choosing a suitable fuse
Choosing the right wick plays a significant role in fragrance diffusion. A wick that is too thin may not produce enough heat to diffuse the fragrance effectively, while a wick that is too thick may burn too quickly and cause the candle to lose its scent.
- Tip : Try several types and sizes of wicks to determine the most suitable for the type of wax and essential oils used.
5. Burning time test
It's important to test a candle to estimate its burn time. After lighting the candle, measure how long it takes the melted wax to reach the edge of the candle, then extinguish it and let it cool. Repeat this process until the candle is completely burned, and calculate the total number of hours it burned.
- General rule : Each inch (2.5 cm) of candle diameter should burn for approximately one hour.
6. Common problems during testing and how to solve them
A. The formation of the "tunnel"
If you notice a tunnel forming in the middle of the candle and wax leaving behind at the sides, the problem may be with the initial burning. Make sure the candle burns long enough the first time to completely melt the surface.
b. Smoke and soot
If the flame is large and producing black smoke, trim the wick to a shorter length. This can also happen if the wick is unsuitable for the type of wax being used.
c. Weak diffusion of the fragrance
If the candle isn't releasing the fragrance as expected, the problem could be the type of wax or the quality of the essential oil being used. Try adding a higher concentration of essential oil, but be sure not to exceed the recommended amount.
Conclusion
Testing and burning candles correctly is essential to ensure even burning and optimal fragrance diffusion. By trimming the wick, observing the flame, and controlling the initial burn time, you can ensure your candles burn perfectly and create a wonderful fragrance every time. Remember that experimenting with and testing candles helps you refine your recipes and avoid common problems in the future.

