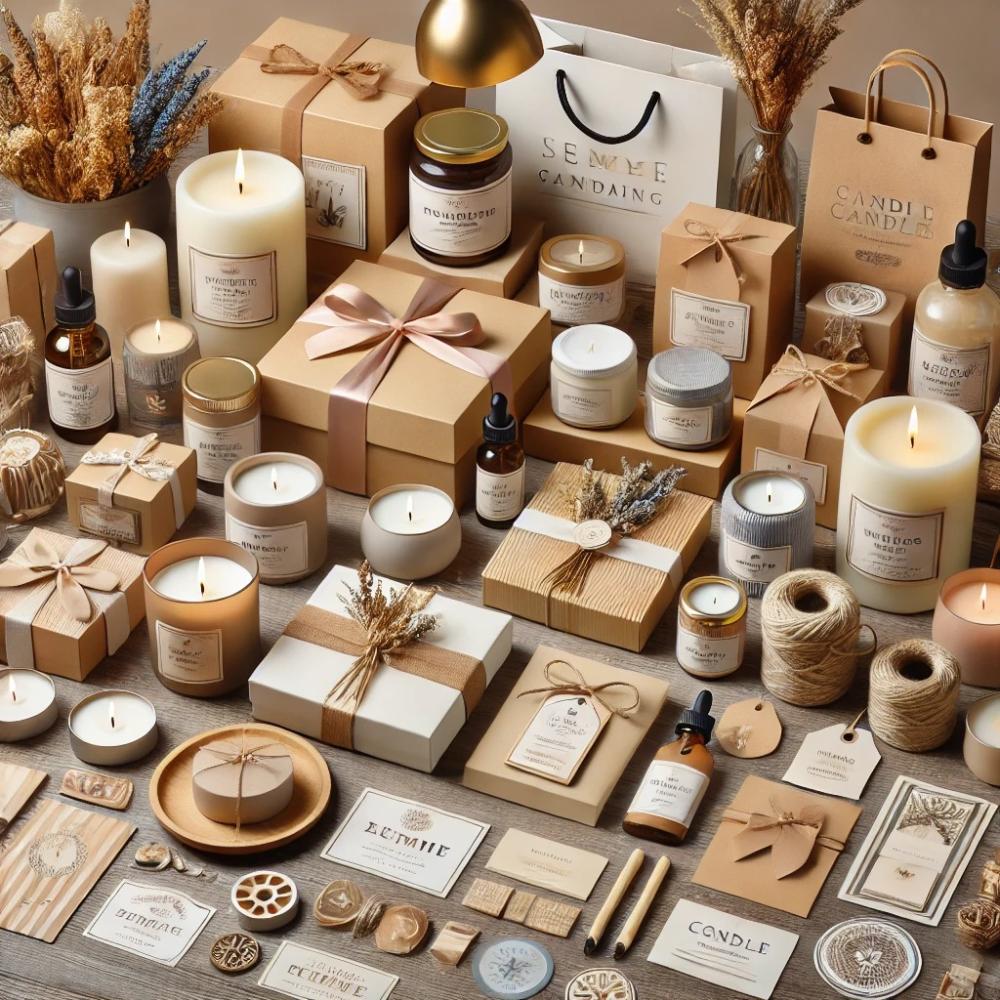
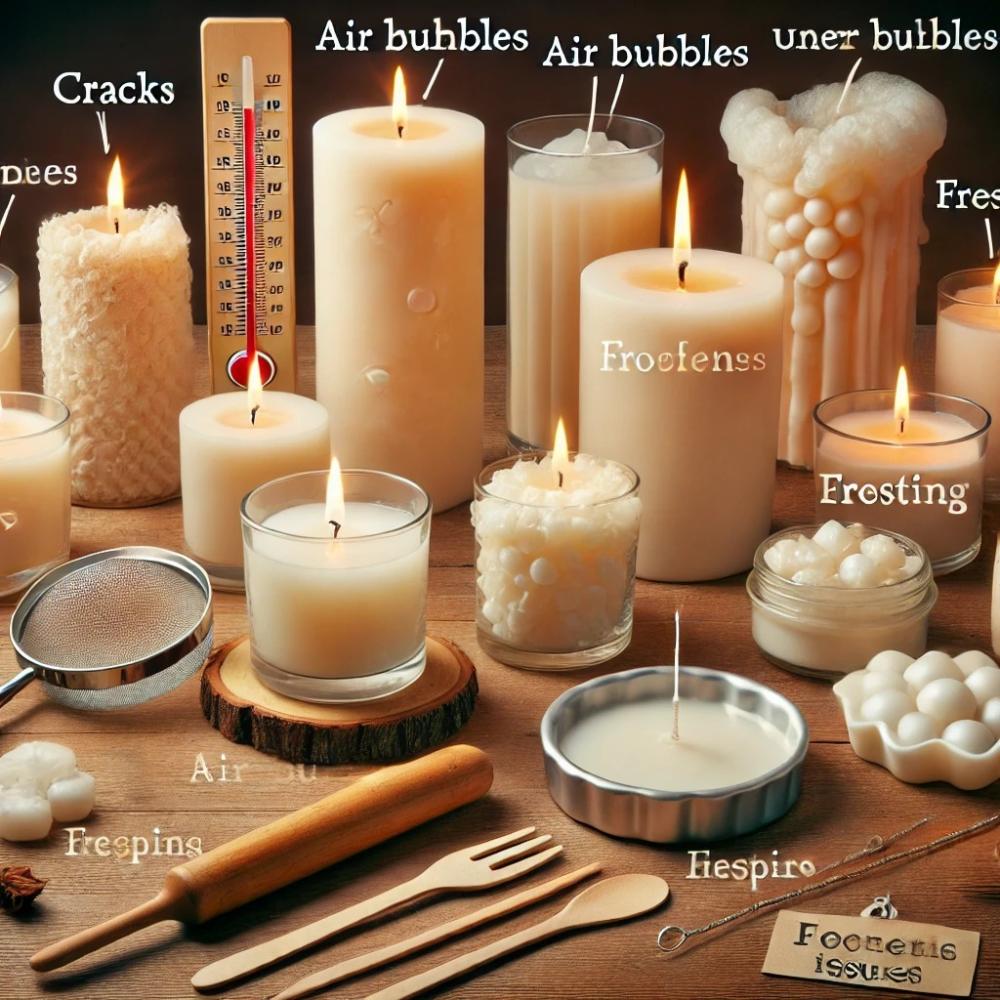
The process of pouring wax into molds is a delicate and crucial step in candle making. This step can significantly impact the final appearance of the candle and the quality of its burn. Common problems encountered by beginners during wax pouring are bubbles and cracks, which can result in an imperfect final product. In this lesson, we will cover how to pour wax into molds correctly, offering tips to avoid bubbles and cracks and ensure smooth, attractive candles.
1. Choosing the right templates
A. Types of molds
Before we begin the pouring process, it's essential to choose the right mold that suits the type of candle you're making. There are different types of molds, including:
- Silicone molds : These are flexible and allow for easy removal of the candle from the mold after cooling. Ideal for molded candles with intricate designs.
- Metal molds : They offer good heat resistance and are often used to make pillar candles.
- Glass molds : Used for candles that remain inside containers, such as mug candles or scented candles.
B. Mold preparation
Make sure the mold is clean and thoroughly dry before pouring the wax. Any impurities or water may cause air bubbles or cracks to form on the candle's surface.
- Tip : If you are using silicone molds, spray them with a little vegetable oil or use a special spray to prevent the wax from sticking to the mold.
2. Adjusting the wax temperature
A. Importance of temperature
Controlling the wax temperature during pouring is crucial for achieving a smooth, flawless candle. If the wax is too hot or too cold when poured, it can cause bubbles to form or the candle to crack when it cools.
b. Ideal temperature
- Paraffin wax : It is preferable to pour the wax at a temperature between 70-75 degrees Celsius.
- Soy wax : Pour it when its temperature reaches 60-70 degrees Celsius.
- Beeswax : Pour it when it is at a temperature of 60-65 degrees Celsius.
- Gel wax : Pour it at a higher temperature, between 85-90 degrees Celsius.
- Tip : Use a wax thermometer to accurately control the temperature during the pouring process.
3. Avoid bubbles during pouring
A. Stir gently
After adding ingredients such as perfumes and colors, stir the wax gently and continuously to avoid introducing air bubbles. Rapid or vigorous stirring may cause bubbles to form inside the wax.
b. Pour slowly and steadily
Pour the wax into the mold slowly and steadily, starting from a low height to minimize the risk of air entering the mixture. Begin by pouring a small amount of wax into the bottom of the mold, then continue pouring slowly until the mold is full.
C. Shake the mold slightly
After pouring the wax into the mold, gently shake the mold to release any air bubbles that may be trapped in the wax. This helps improve the final appearance of the candle.
4. Avoid cracks during cooling
A. Gradual cooling
One of the main reasons for cracking is cooling the wax too quickly. Allow the wax to cool gradually at room temperature. Avoid placing the molds in the refrigerator or exposing them to cold drafts.
b. Recasting (if necessary)
If you notice cracks appearing on the surface of the candle after cooling, you can heat a small amount of wax and pour it over the cracked surface to fill the gaps and improve the appearance.
- Tip : Make sure the temperature of the wax you pour to repair the cracks is slightly low to avoid further cracking.
5. Install the wick correctly
Positioning the wick in the center of the mold helps ensure even burning. Use a base to hold the wick at the bottom of the mold and make sure to keep the wick straight while pouring the wax.
- Tip : Use a wick holder or pencil to place it across the edge of the mold to hold the wick in the middle until the wax has cooled completely.
6. Cleaning and storing the molds
Once the candles have dried, remove them from the molds and clean the molds immediately. Clean molds help maintain the quality of the candles and prevent bubbles or imperfections from forming in the future.
- Tip : Store the molds in a dry and clean place to keep them in good condition for future use.
Conclusion
The process of pouring wax into molds is a crucial step that requires focus and attention to detail to achieve perfect candles. By following the tips in this article, you can avoid common problems such as bubbles and cracks, and obtain smooth and attractive candles every time. Remember that proper preparation, temperature control, and gradual cooling are the keys to a successful pour.