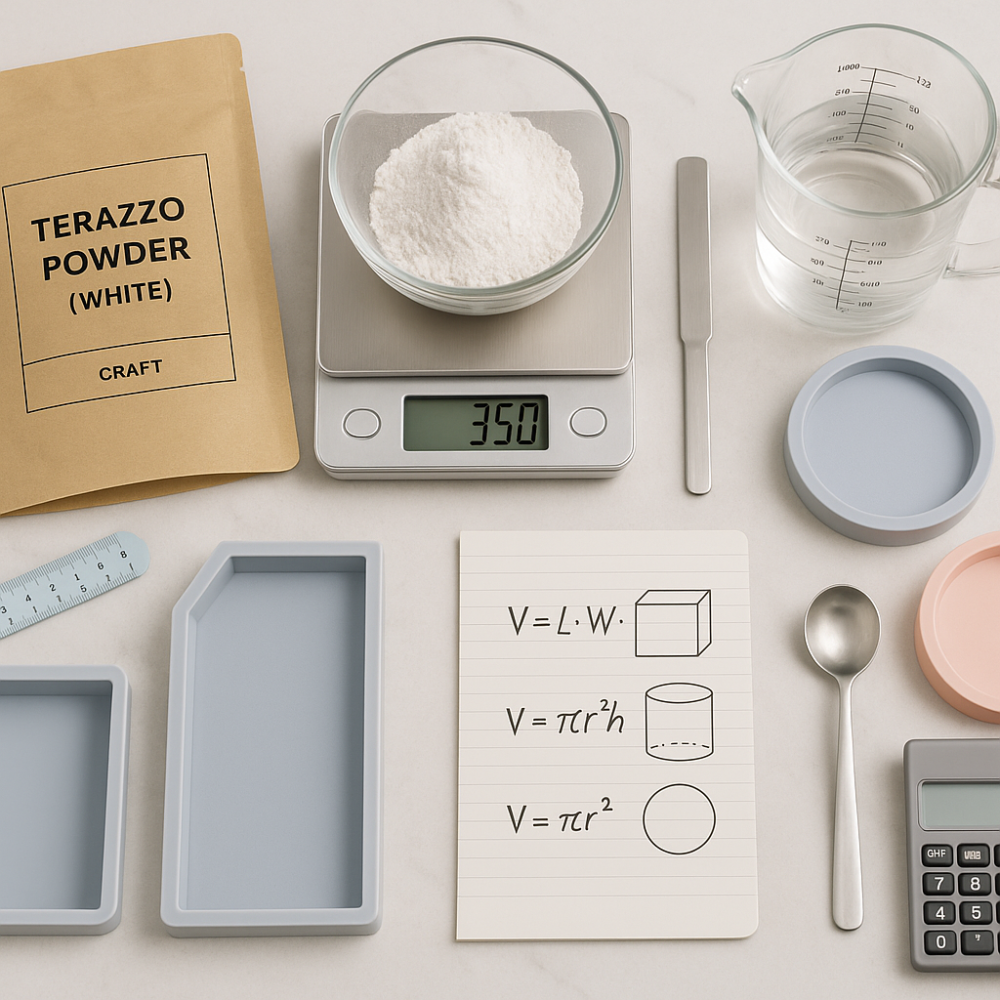
The aim of this method is to determine the precise quantity of the mixture (liquid + powder) for each mold without waste . The steps involve measuring the mold with water and then converting the weight to the quantity of mixture ready for pouring.
Why this method?
- Consistent results from piece to piece.
- Savings in materials and time.
- Facilitating the preparation of several molds at once.
What do I need?
- Your mold to be poured.
- Zeroed digital scale (tare).
- Water for measurement only.
- A small notebook or mobile phone notes to record numbers.
Step-by-step method (measuring with water → calculating the mixture)
- Place the mold on the scale and zero it.
- Fill the mold with water up to the level you want the pour to reach.
- Record the weight of the water and let's call it W (in grams).
- Calculate the total weight of the mixture = 2 × W.
- Calculate the weight of the liquid (water or acrylic liquid) = 25% of the total weight of the mixture .
- Calculate the weight of the powder = weight of the total mixture − weight of the liquid .
- Drain the water and dry the mold, then prepare the mixture with the same weights you calculated.
The principle is simple: A mold weighing W ( water) needs a ready-made mixture weighing 2W , of which one-quarter is liquid and three-quarters is powder .
Quick examples
- Example 1: The weight of water is 100 grams.
- Total mixture = 2 x 100 = 200g
- Liquid = 25% × 200 = 50 g
- Powder = 200 − 50 = 150 g
- Example 2: The weight of the water is 60 grams.
- Total mixture = 120g
- Liquid = 30 g
- Powder = 90g
- Example 3 (multiple cavities): A 4-cavity mold, each cavity containing 80g of water
- Weight of water for the set = 80 x 4 = 320 g
- Total mixture = 2 x 320 = 640 g
- Liquid = 160 g
- Powder = 480g
Reminder: The liquid can be water for an economical and quick result, or acrylic liquid for a smoother surface and higher durability—the calculation is the same in both cases.
A small safety margin (optional)
- Add an extra 3–5% for small quantities or complex shapes to compensate for losses during mixing and pouring.
- If a small amount of mixture remains: pour it into small sample molds for later use.
Important quality notes with Kraft Terrazzo Powder
- The working time is short; prepare, mix , and pour within ≤ 3 minutes .
- After pouring, a light tap on the edges of the mold helps to release the bubbles.
- Initial unwrap after approximately 30–40 minutes (carefully), and final dry within 72 hours before use or sealing.
- Work in an air-conditioned and dry place to obtain a smooth surface.
Common mistakes… avoid them
- Forgetting to zero the scale before measuring.
- Filling water to a height different from the required pouring height.
- Mix and then wait a long time before pouring (the mixture hardens quickly).
- Estimating the numbers by eye instead of scale—the discrepancy appears in the thickness and edges.
Quick summary
- Weigh the water inside the mold → The number is W.
- Total mixture = 2W .
- Liquid = 1/4 of 2W , and powder = the rest .
With these steps you will get the exact amount of Kraft terrazzo powder for each mold, and create perfect pieces with minimal waste… every time.

