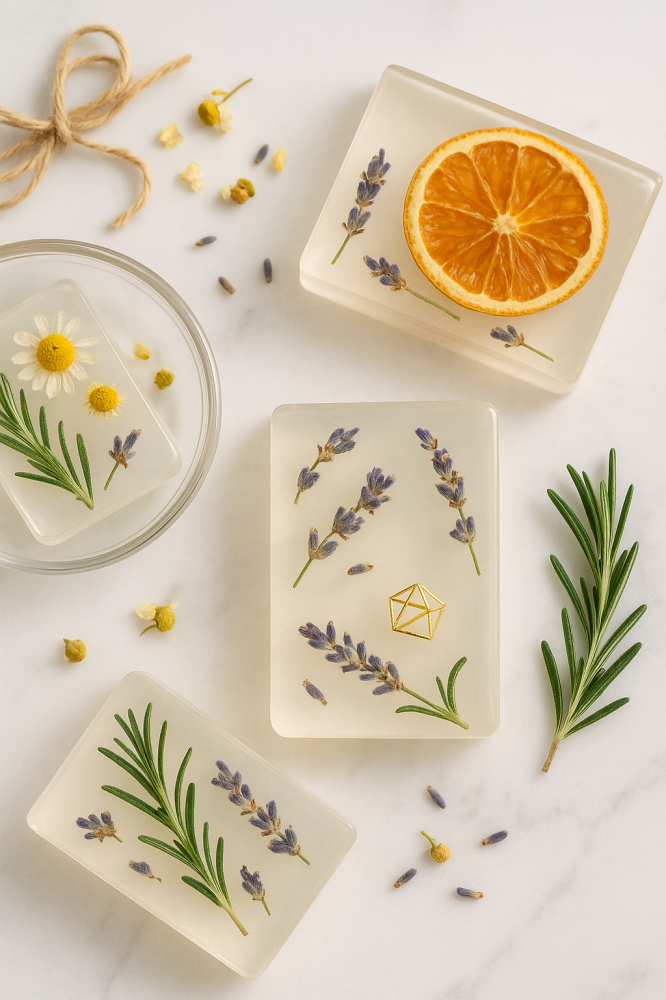
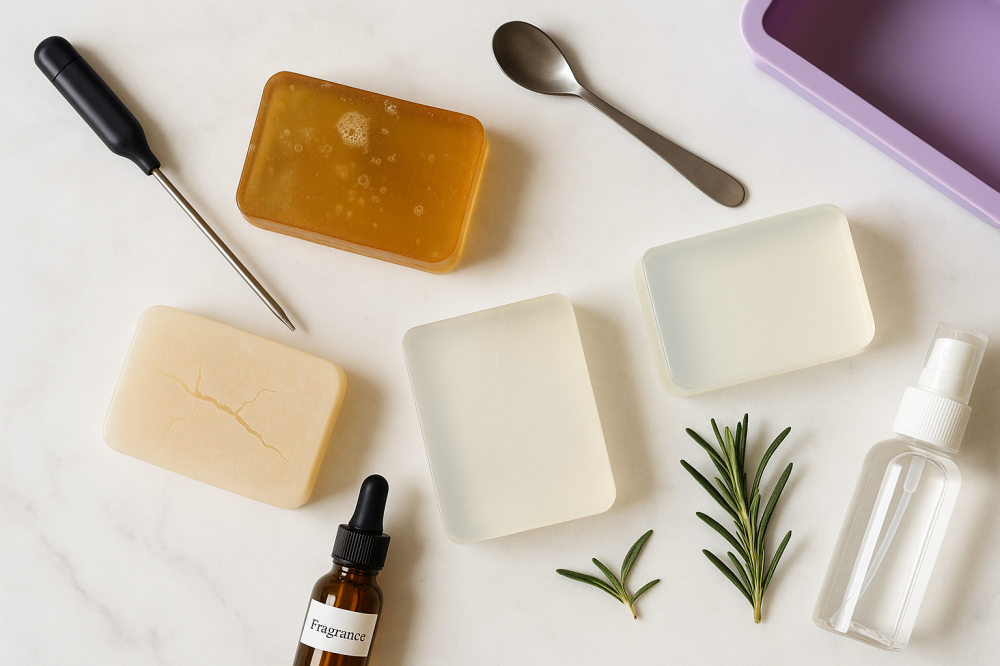
The goal here is clear: transparent soap that showcases the interior perfectly —without discoloration, cloudiness, or trapped bubbles. Follow the step-by-step guide, with practical tips tailored to our hot and humid environment.
First: Choose the correct elements before merging
- Herbs and flowers: Use thoroughly dried (not fresh). Ideally, they should be bleached or preserved and intended for crafts; a small quantity gives a more attractive appearance and reduces discoloration.
- Figurines (toys/figures): They should be skin-safe , have smooth edges, not rust-proof or water-soluble, and have colorfast finishes. A very safe option is to use small heart/letter-shaped pieces of soap as “Figurines” inside the clear container.
- Colors and fragrances: Stick to transparent dyes specifically for soap and fragrance 1–2% by weight, preferably vanillin-free (vanilla may yellow the base over time).
Second: Preparing the elements to reduce dullness and turbidity
- True drying: If you suspect any moisture in the flowers, leave them in a cool, dry place for a full day. Moisture is the number one enemy of transparency.
- Quick cleaning for figurines: Wash them with warm, soapy water, then dry thoroughly. This reduces color bleeding later.
- A simple "waxing" for plant-based items: Dip the item very quickly into a melted clear base, then lift it out to dry. This coats the surface with a thin layer that prevents the color from bleeding inside the piece. Test on a sample first.
Third: Step-by-step integration method (while maintaining transparency)
- Melt the base gently between 60–75°C without boiling.
- Add the fragrance and color at 55–60°C with gentle stirring (violent stirring traps air and clouds the air).
- First, pour a thin layer into the mold, then spray its surface with 70% medical alcohol to burst the bubbles.
- Place the herbs/decoratings on top of the thin film once a light crust has formed and adhered them (usually 10–20 minutes). A light spray of alcohol on the items just before sealing improves adhesion.
- Pour the next layer slowly and from close to the surface, at a temperature close to 55–60°C, so as not to melt the first layer or release bubbles around the elements.
- Leave the mold to cool in an air-conditioned room until it hardens, then unwrap and wrap immediately to avoid “sweating”.
Note: If the items are light and floating, let the base cool slightly until it becomes more viscous , then place the item and pour around it—this way it will stay suspended in place.
Fourth: Three effective installation methods
- Layered installation: thin transparent layer (base), light veneer, elements, sealing layer.
- Fixing with a drop of soap: Place a small drop of the melted base to act as a “glue” that holds the element in place, let it harden, then complete the pouring.
- Cooling suspension: When the base cools down slightly and thickens, the elements are held in the middle of the piece without sinking/floating.
Fifth: How to avoid fading and discoloration?
- Perfumes without vanillin as much as possible (vanillin causes gradual yellowing).
- Sunlight is the enemy of colors: photograph quickly, then store the pieces away from the sun and strong light.
- Reduce the amount of plant material within the piece — excess accelerates fading and increases cloudiness.
- Use safe synthetic materials or colored soap scraps if you want colors that won't fade.
- Always test on a small piece before producing a quantity.
Sixth: Quick solutions to common problems
- Cloudiness around herbs: often due to internal moisture or color bleeding. Solution: Reduce the quantity, dry better, and "wax" with a quick dip before blending.
- Bubbles around the sculpture: Your temperature is too high or you poured too quickly. Solution: 55–60°C, pour very slowly, spray with alcohol immediately.
- Float the elements upwards: Let the layer cool until it thickens slightly before placing the element, or fix it with a drop of soap first.
- Plant discoloration after a few weeks: This is normal for many plants. Solutions: Safe artificial elements, or a small transparent window with elements and a white bottom and cover to minimize noticeable discoloration.
- “Sweating” on the surface: Cover immediately after unpacking, store in a cool, dry place, and a silica gel sachet can be placed inside the box.
Additional tips for cleaner visual beauty
- Light, transparent colors allow light to pass around the element and make it appear to be “floating”.
- Respect harmony: Color the soap in a shade close to the color of the element rather than a very sharp contrast (unless you want a deliberately bold effect).
- Quick photoshoot then packaging: Every minute exposed in a humid environment increases the chances of "sweating".
Summary
Focusing on the dryness of the ingredients, proper pouring temperature, gentle pouring, and quick packaging is the key to a clear soap bar that showcases herbs, flowers, and figurines without fading or cloudiness . Start with a test bar, and you'll see the difference immediately in the result and the image… and consequently, in your sales.


