This guide focuses on the melting and pouring method with simple techniques that prevent bubbles and "sweating".
What is glycerin soap?
Ready -to-use, meltable, and pourable base: Melt gently, then add color and fragrance, and pour into the mold until it hardens. No need to handle caustic soda.
Tools you need
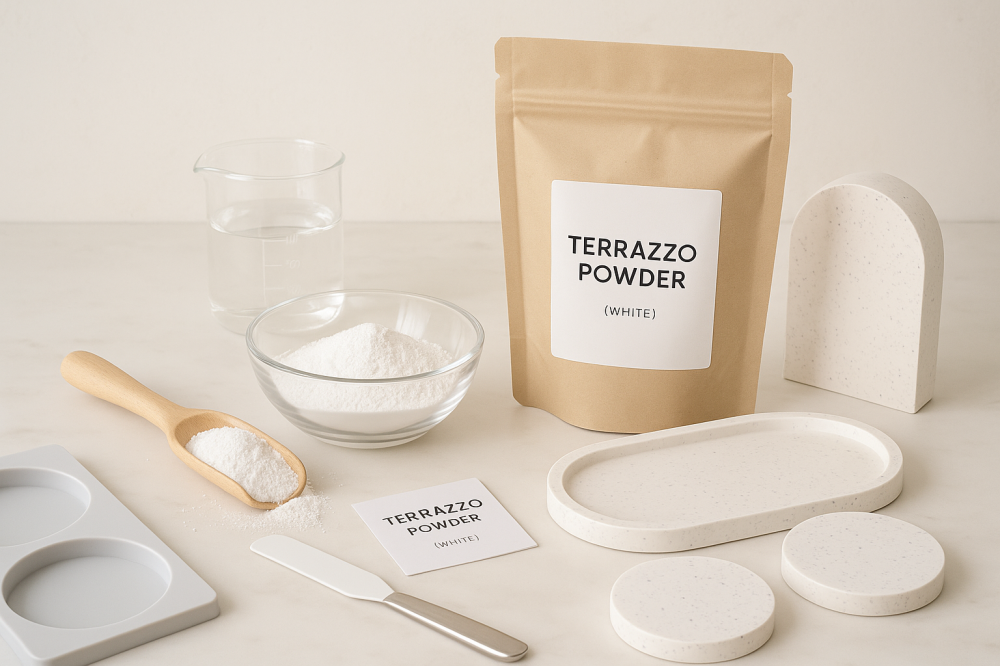
- Glycerin soap base (transparent or white).
- A water bath (a pot of gently simmering water + a bowl placed inside it), or a microwave oven with intermittent heating.
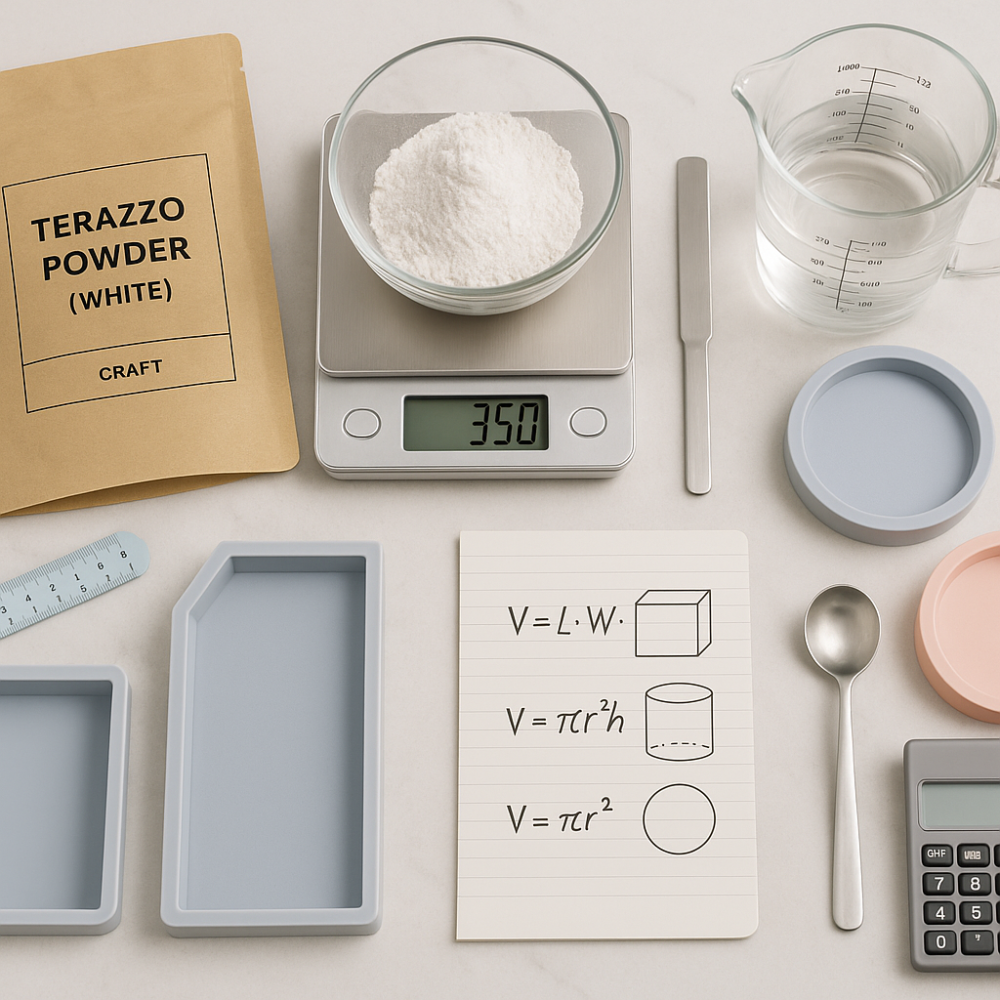
- Digital scale for weighing the base and perfume.
- A kitchen thermometer for monitoring melting and pouring temperatures.
- Clean and dry silicone molds .
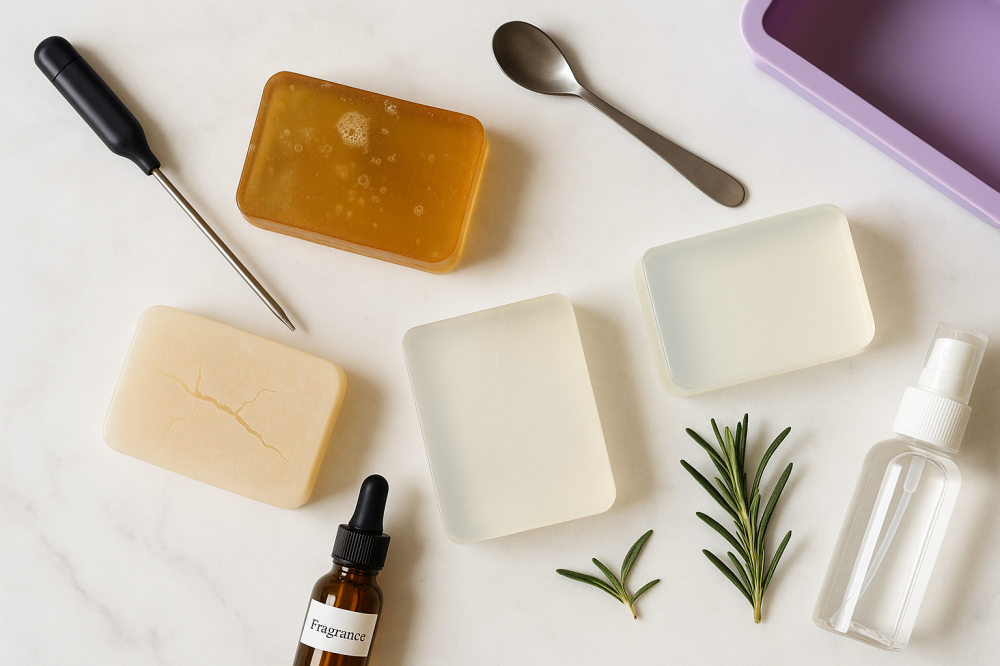
- 70% medical alcohol spray to remove bubbles from the surface.
- Soap-specific dyes + skin-safe essential oils .
- Heat shrink wrap or cellophane bags for packaging after hardening.
Indicative temperatures
- Melting point: between 60–75°C (gentle melting without boiling).
- For pouring: close to 55–60°C ; this temperature reduces bubbles and improves surface smoothness.
The higher the pouring temperature, the more bubbles will form and the greater the likelihood of the transparent base becoming opaque.
Detailed steps
- Cutting: Cut the base into small cubes for even melting.
- Melting:
- In a water bath : Let the water boil gently, and place the base container on top of it while stirring lightly.
- Or microwave : Heat in short intervals, stirring between each interval.
- Adjust the temperature: Allow the base to cool slightly to 55–60°C before adding anything.
- Adding color: Add the color gradually until you reach the desired shade while stirring gently .
- Add fragrance: 1–2% of the base weight, using a fragrance specifically formulated for soap. Stir gently until dispersed.
- Preparing the molds: Make sure they are clean and dry . You can optionally spray a light mist of alcohol inside the mold.
- Pouring: Pour slowly and from a low height close to the surface of the mold to avoid introducing air.
- To remove surface bubbles: Directly spray 70% medical alcohol spray onto the surface.
- Cooling: Leave the molds in an air-conditioned room until they harden (usually 30–90 minutes depending on the size).
- Unwrap and wrap: After hardening, wrap immediately with heat shrink wrap or airtight cellophane to reduce “sweating”.
Techniques that prevent bubbles
- Gentle stirring only; vigorous stirring traps the air.
- Add color and fragrance at 55–60°C .
- Pour from close by and slowly. If bubbles appear, stop for a moment and then continue pouring.
- Spray 70% medical alcohol on the surface immediately, and repeat within the first minute if necessary.
How to prevent "sweating" (dew).
"Sweating" occurs when soap absorbs moisture from the air. To avoid it:
- Packaging immediately after unpacking (heat shrink or airtight cellophane).
- Store in a cool, dry place (approximately 20–24°C).
- Avoid the refrigerator or freezer ; moving to a hot environment causes rapid sweating.
- For shipping within the Kingdom: Use dividers and secure packaging and keep away from sunlight inside the vehicle.
- If "sweating" appears: gently wipe it with dry tissues and then reseal tightly.
Quick checklist
- It was melted gently and without boiling.
- I added the color and fragrance at 55–60°C with gentle stirring.
- I poured from a low height and sprayed 70% medical alcohol .
- I cooled it in an air-conditioned environment and then wrapped it immediately .
- Store away from heat and humidity.
Summary
The smooth result depends on three simple steps: temperature control + gentle pouring + quick packaging and controlled storage . By following these steps, you'll get soap bars that are soft to the touch, bubble-free, and sweat-free.